
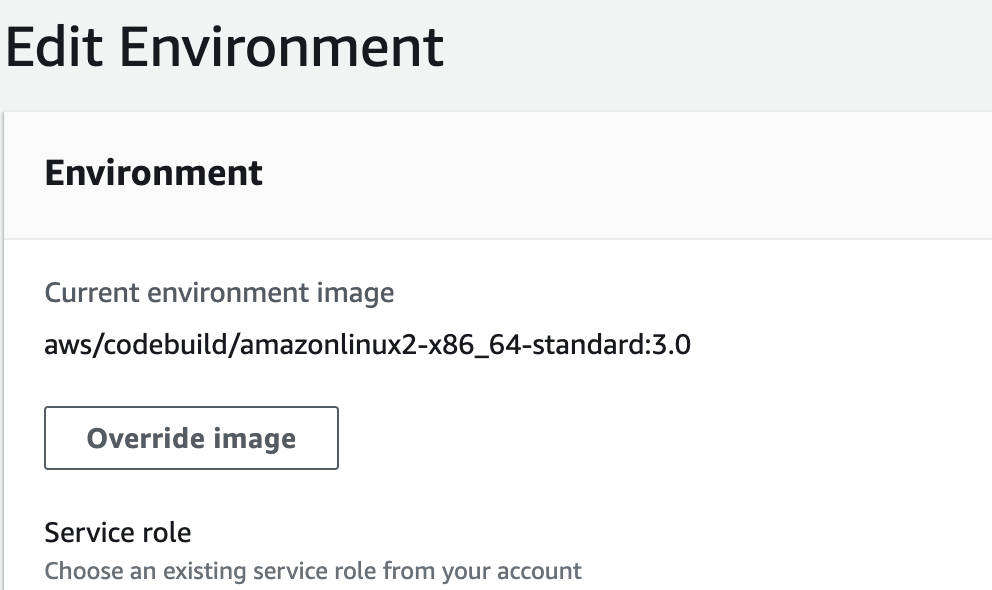
I thought I would see if my code builds on a different version of PHP, so I chose to override the build image from the aws/codebuild/amazonlinux2-x86_64-standard:4.0 image up from the aws/codebuild/amazonlinux2-x86_64-standard:3.0 by clicking the “Override Image” button
After verifying that I would need to update quite a few things, I changed my mind. I went back into code build’s environment configuration and chose the following:
- Operating system: Amazon Linux 2
- Runtime: Standard
- Image: WHERE THE HELL IS aws/codebuild/amazonlinux2-x86_64-standard:3.0
Well, turns out it has been deprecated. I tried modifying the the build environment to use a custom image and specified the version 3 image which can still be found here, but the build didn’t seem to fully initialize before failing.
Use CloudFormation
So instead I created a Cloud Formation template and specified the image in that. This worked!
First, here is the template:
Resources:
  MyCodeBuildProject:
    Type: AWS::CodeBuild::Project
    Properties:
      Name: MyApp-Staging-Build
      Description: Staging Template
      ServiceRole: arn:aws:iam::myaccountid:role/service-role/codebuild-MyApp-Demo-Build-service-role
      TimeoutInMinutes: 60
      QueuedTimeoutInMinutes: 480
      EncryptionKey: arn:aws:kms:us-east-1:myaccountid:alias/aws/s3
      LogsConfig:
        CloudWatchLogs:
          Status: ENABLED
        S3Logs:
          Status: DISABLED
          EncryptionDisabled: false
      FileSystemLocations: []
      Artifacts:
        Type: CODEPIPELINE
        Name: MyApp-Staging-Build
      Source:
        Type: CODEPIPELINE
        BuildSpec: devops/aws/codebuild/buildspec-web.yml
        InsecureSsl: false
      Cache:
        Type: S3
        Location: codebuild-aws-cache
      Environment:
        Type: LINUX_CONTAINER
        ComputeType: BUILD_GENERAL1_SMALL
        Image: aws/codebuild/amazonlinux2-x86_64-standard:3.0
If you have Environment Variables you need to add, you can either put them under the environment property or wait until your build project is created and manually add them. Here’s what it would look like in the template.
  Environment:
        Type: LINUX_CONTAINER
        ComputeType: BUILD_GENERAL1_SMALL
        Image: aws/codebuild/amazonlinux2-x86_64-standard:3.0
        EnvironmentVariables:
            - Name: MY_ENV_VARIABLE
              Value: my-value
            - Name: MY_ENV_VARIABLE_2
              Value: value-2
Create Using AWS Console
There are several ways you can create a new build project with this. Probably the most straightforward way is to go into the AWS Console, go to CloudFormation, and go through the following steps:
- Save the yaml above to a .yaml file
- Click Create Stack (with new resources)
- Select “Template is ready”
- Select “Upload a template file”
- Click “Choose file” and find your local yaml file you saved.
- Click Next
- Give it a “Stack Name”
- Define any parameters that might be included in your template. If you are copying from above, I didn’t define any
- You can click next through the remaining steps (Configure stack options and Review testing)
Create Using AWS CLI
You could also create your new build project using aws cli. If your template is called codebuild_template.yaml and you want your stack name to be MyStagingCodeBuildStack, then you could achieve the same thing with the following.
aws cloudformation create-stack --stack-name MyStagingCodeBuildStack --template-body file://codebuild_template.yaml
If you haven’t configured AWS CLI yet, you can do that first or you can use AWS Cloud9 which already has AWS CLI setup.
Add In Your Environment Variables
If you have environment specific variables and you didn’t add them into the template above, you can go into your build project environment configuration and add them now.